The part of this entire process that I dreaded the most was the actual welding that I was going to have to do on the bell housing of the differential. This is the same spot that the old break (before we owned the car) and the new break had occurred. This was to be a process that required learning a bit of metallurgy that you don’t even think about unless you are trying to fix cast iron or cast steel. And yes, there is a difference.
The fix for the original break (not MY break) in the torque tube had resulted in removal of a riveted cast steel collar, brazing a steel sleeve inside the existing original torque tube and extending that same inner sleeve into the forward most side of bell shaped front portion of the differential housing. Once this had been done, an outside collar was welded to both the bell housing and the steel portion of the torque tube.

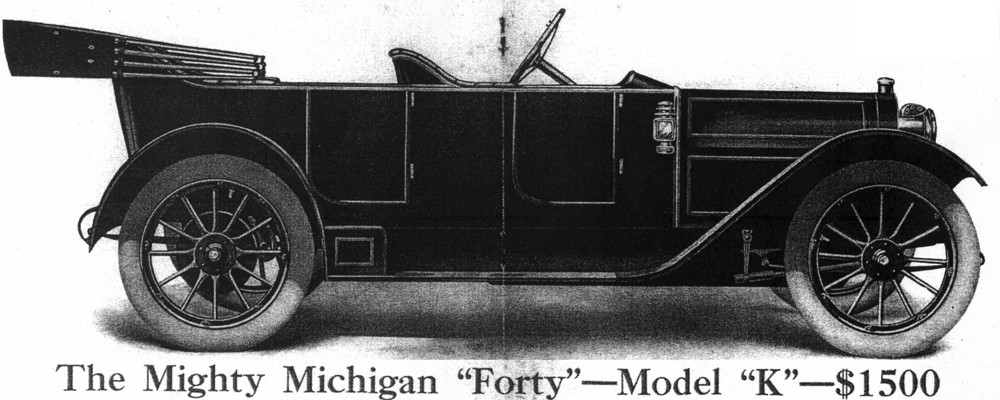
The torque tube before it broke (although I reinstalled it right side up)- click to enlarge photo
The photo shows the repaired area. The red line is where the crack occurred BOTH TIMES.
They tell me that the difference between welding cast iron and cast steel is significant. I’m now going to relate what I have learned about cast iron and cast steel. I am not an expert. I am not a metallurgist. I do not have vast experience welding. I do not pretend to KNOW what I am doing. I read. I read some more. I attend YouTube university. (That means watching Youtube videos that purport to show “how it is done” or “how not to do it”.) Some of this is information is consistent and may be metallurgically correct. Other bits are probably complete B*&& S#!& or anecdotal voodoo.
So here we go — Cast iron typically has lots of impurities and grainer structure than cast steel which is supposedly more crystalline in structure. Cast iron makes few little short sparks when you grind it. Cast steel makes lots of long bright yellow sparks. Cast steel can be successfully welded. Cast iron can be brazed with bronze (sort of high temperature soldering) or welded if carefully prepared, but has a much higher failure rate. Supposedly, the margins of material adjacent to the welded area become brittle and the structure is weakened there. In either case, the experts (or self-proclaimed experts) suggest preheating the parts to be welded to 400 degrees Fahrenheit or a bit hotter before attempting to weld. The welding rod or wire should be high nickel content which does not expand or contract as much as steel welding rod. Once welded, the unified part should be peened (lightly hammered) and then allowed to very slowly cool to room temperature. The slower the better, so there are no sudden temperature related stresses to the material.
In preparation for this weld, I had to make a jig to permit alignment of the parts. There are no such jigs out there in the World, so I adapted my old engine stand and put together the thing below:

My torque tube welding jig.
I sourced some 55% nickel welding rod that I would use to TIG weld the actual broken areas of the torque tube. Then I would support that demonstrably weak area with several layers of steel tubing. This tubing could not be slipped over either end of the welded up torque tube because one end had a huge bell end and the other had a cast steel end that flared out larger than the size of the supporting tubing. Because the torque tube was going to be layered, the supporting “tubes” had to be cut into sections and then welded in place. One layer over the other. Holes were drilled in several pieces to allow plug welding to the lower layer, in addition to perimeter welds.

Curved plate sections of support tube ready for welding over the inner (original) broken section of torque tube. Note the allen socket set screws in the torque tube towards the bottom of the picture. These can be adjusted to align the INSIDE support tube to accommodate the drive shaft. It is only welded to the tube at the welds near the original break.

Plate sections & plug welds on first support tube.
Note: I do not have photos of the innermost (original) torque tube welds. I was doing too many things while trying to maintain heat. What is not shown is pre-heating both ends with a large rosebud oxyacetylene torch to 400+ degrees Fahrenheit. Then the TIG welding of that area with 55% nickel welding rod. That portion of the welding went remarkably well. The nickel rod flowed more like solder or braze than a blobbier 100% steel welding rod. Frankly that was a great relief, as I was quite concerned that the very localized heat of the TIG arc would cause the cast metal to fizz and pop and have a lot of weak bubbly edges. None of that occurred. The welds looked good. Soon after they were complete around the entire circumference of the tube, I peened the welds and adjacent metal with a pneumatic needle scaler. Then I waited a bit and did it again. Peening is advised when welding cast iron or steel to relieve stress in the metal caused by dissimilar heating and the actual process of melting base materials to form the weld. And then again…. it just might be voodoo. Lest I upset the welding Gods (Vulcan, Brokkr & Sindri, Brigid, Ptah, Miller, Lincoln, Hobart et. al.) I performed the stress relief ritual. And because the welds didn’t break then and there, I was somewhat relieved too. But before things cooled too much, I commenced the next layer of welds. I started with the nickel rod, but because I was now welding steel to steel (not cast) I switched to MIG welding with regular old welding wire. The results were, in my opinion, excellent.

Nickel rod on left, where the plate joins bell housing. Steel to steel elsewhere was plain old MIG.

Fireproof blanket over the welds to let the parts slowly cool.
Several days later (Sept. 4, 2025), I ground down the welds to accommodate another layer of steel support tubing. Cut the tubing into four sections, beveled the edges for greater weld penetration and strapped them to the tube for welding.

Another layer of support.

Four more tube sections hose clamped on for welding.

Final support welded and ground. The fix is complete and ready for paint.
Next project — get the new ring & pinion gear installed and adjusted.
I doubt the diff housing is cast steel. The appearance would be rougher { steel does not cast well } More likely cast malleable iron.