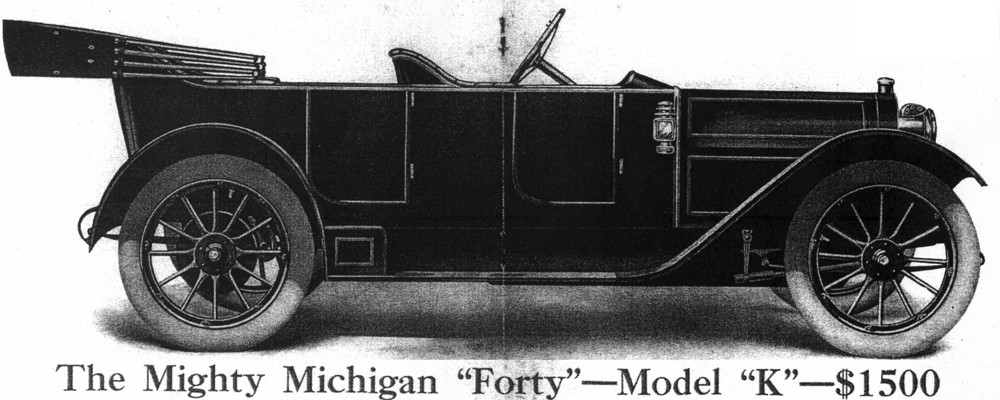
As previously noted in the prior posting, continued participation in old car touring highlighted the desirability of having a quick, easy and reliable starting technique. Our car is equipped with a Prest-O-Starter acetylene starting device. A device that I have yet to go through and restore. At some point in the future, I plan to do that. Just not now. We are having too much fun driving the car on tours and the like, so I don’t want to take it out of service just now. For more information about the acetylene starter, go to my “Nuts & Bolts” menu and look for Prest-O-Starter https://michiganmotorcar.com/nuts-bolts-2/prest-o-starter-acetylene-starter/
Our Horseless Carriage Club colleagues (La Jolla Regional Group) recommended I speak with member Allan Schmidt who is also the proprietor of the well regarded antique auto supply company, Restoration Supply Company https://restorationstuff.com. I visited with Allan and he suggested that I bring in our flywheel and that he would turn the front edge down a bit on his lathe and sweat on a ring gear expanded and spliced from bits of 1970’s vintage Dodge truck ring gears. This he told me he had done successfully many many times.
So, off I went to remove our flywheel. While this is not the most complicated thing in the world, it is not the easiest either. Oh — and the flywheel weighs 85 pounds, so taking it off also means that you have to hold on to it as you unbolt it from the crankshaft. For this purpose, I welded up a handy dandy flywheel catcher.

Flywheel ready to be unbolted (6) from crankshaft. Cone clutch, spring and universal joints are already removed.
A few days after Thanksgiving, I dropped the flywheel off for Allan to do his work and In mid-December, I got a call telling me to come pick it up. The flywheel now had teeth on its leading edge.
It took me until February 25th to reinstall the flywheel. What followed was a lot of calculations using era appropriate CAD designs (cardboard assisted design) to weld up a bracket for the starter motor.
With the bracket designed there were still lots of adjusting to do with shims requiring bolting and unbolting to get the spacing for the starter gear to properly mesh with the ring gear. This is tedious upside down on your back work with some fairly heavy parts. It was not fun and took several days to get it right. After the install, I needed to get a 12 volt battery holder installed on the chassis and route the cables to the starter.
Finally on March 25, 2024, the installation was complete and we started the car with the push of a button. There was great rejoicing in the Correll household. (Insert video of first electric start here)


